The Floating Stair Process from Idea to Installation
A step-by-step look at how floating stair projects move from concept to fabricated steel, from early structural decisions to install day.
Floating stairs need early decisions about structure, treads, guards, finish, and installation access. Here is what each stage actually involves.
Floating stairs look effortless when they are finished. The process behind them is more deliberate. Every light-looking stair still needs structure, code review, fabrication planning, and a realistic installation path. Understanding each stage before committing to a design saves time, money, and friction with contractors.
Step 1: Define what floating means for this project
The term floating stair describes a visual category, not a structural system. Homeowners, architects, and fabricators use the same word to mean very different things.
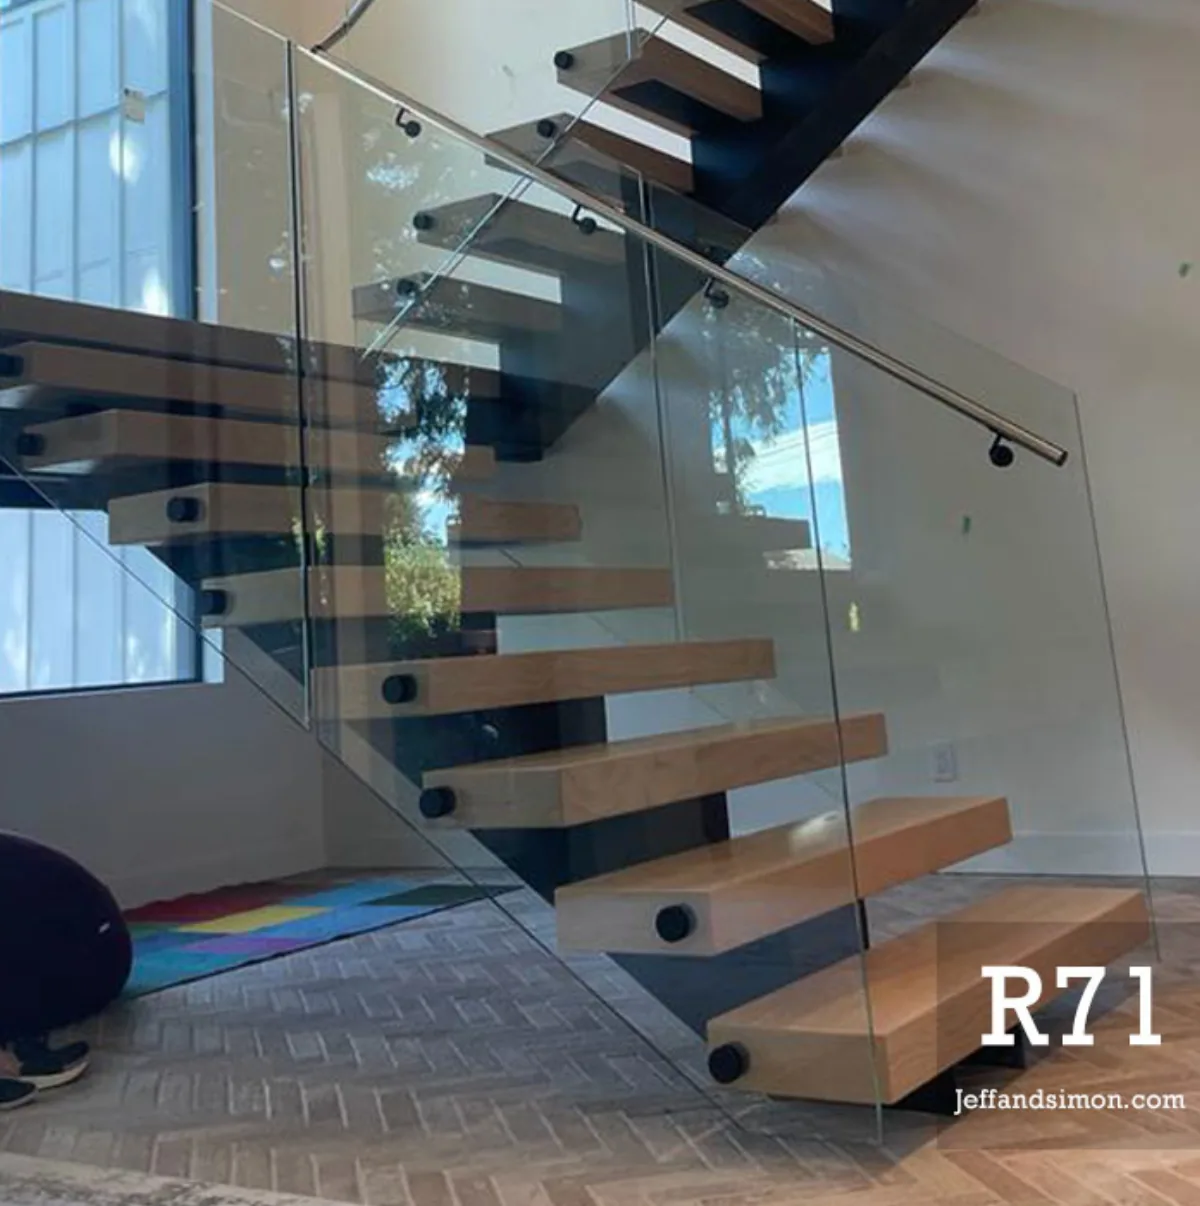
A mono stringer stair uses a single central steel beam, the stair floats visually above a spine. Treads cantilever equally on both sides, open risers let light pass through, and the stringer itself becomes a design element.
A cantilevered stair has treads that project from the wall with no visible support below. The structure is hidden inside the framing. This requires a stiffer wall, embedded anchors, and engineering that accounts for the moment loads at each tread attachment.
A side-supported stair uses concealed or minimal side structure, sometimes steel channels inside the wall, sometimes a low side stringer that reads as a shadow line rather than a beam.
Each system has different cost, structural requirements, and site conditions that need to work. The support strategy should be named and understood before any pricing conversation starts. Changing the structural concept halfway through design resets the scope.
Step 2: Assess the opening and existing structure
A floating stair cannot be designed in isolation from the building around it. The following need to be confirmed before drawings begin:
Floor-to-floor height determines stair rise and run. Floating stairs often use a shallower rise (160–165mm) to create a more open visual, but the total run that produces dictates how much floor space the stair occupies. Tight landings, lower ceilings, or mezzanine constraints can force a different run.
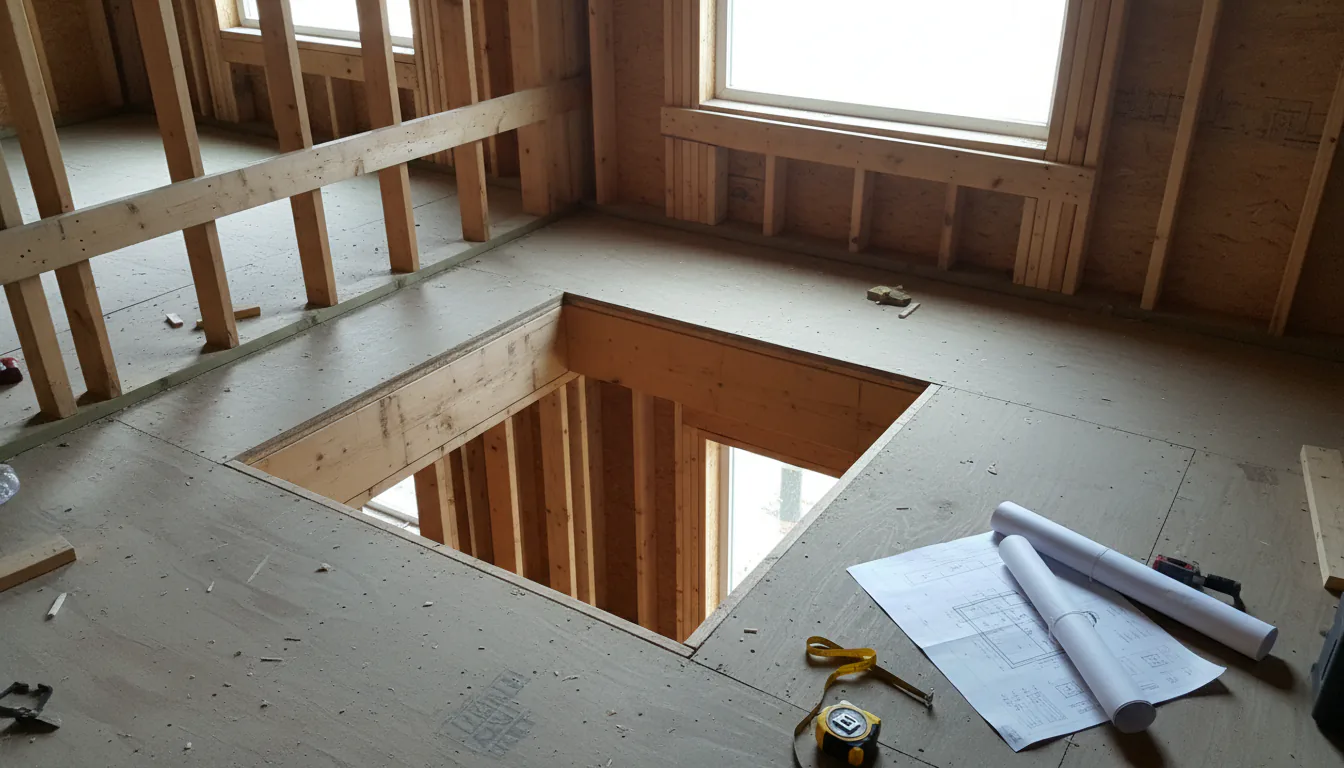
Stair opening size sets the boundary. The opening in the upper floor framing must accommodate the stringer or tread anchors plus clearance for installation. For cantilevered stairs, the anchor pattern needs to land in structural framing, not just drywall.
Wall construction matters for cantilevered treads. A concrete or CMU wall accepts anchors differently than wood stud framing. Engineered lumber, LVL headers, and steel stud framing all change the anchor strategy and load path.
Slab or wood subfloor affects the base connection. A concrete slab allows anchor bolt or cast-in-plate connections that a wood floor system cannot replicate without significant blocking.
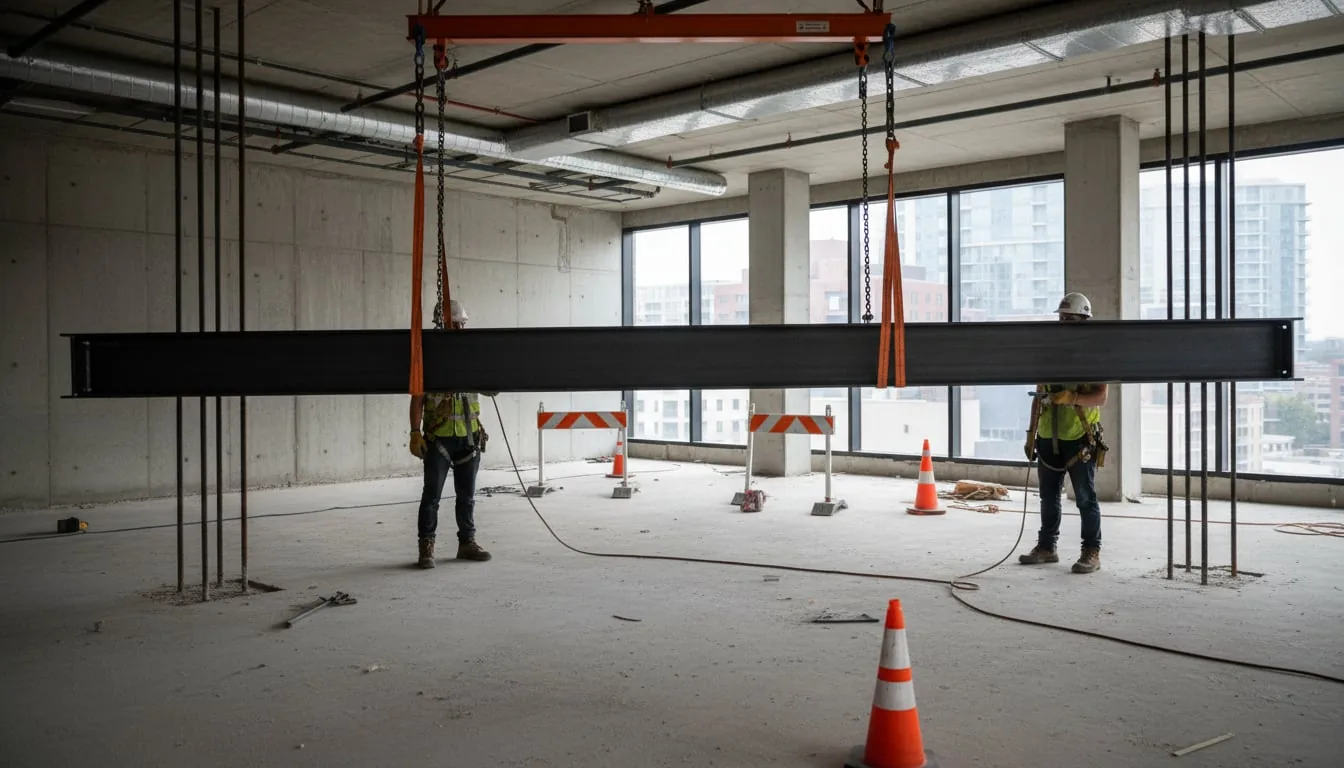
Mechanical and plumbing clearances beneath the stair opening, particularly in renovations, sometimes conflict with where the stringer needs to land.
A site visit or a detailed set of as-built drawings eliminates most surprises before fabrication starts.
Step 3: Choose the railing system before finalizing structure
Treads and railings interact more than most clients expect. The railing choice affects the stringer design, tread edge detail, and installation sequence, so it needs to be part of the structural conversation, not an afterthought.
Glass guard: Requires a base channel or shoe attached to the tread, or posts anchored into the tread edge. Tread thickness and edge profile must accommodate the hardware. Side-mounted glass posts on a stringer stair need the stringer to be wider or have a welded flange.
Cable railing: Horizontal cables require end posts that handle significant horizontal tension load. Those posts must be anchored to something structural, the stringer, the wall, or floor framing. Cable tension accumulates across a run and must terminate in a load path, not a cosmetic fitting.
Steel pickets or custom guards: Typically welded to the stringer or tread. More flexibility in attachment but less transparency. Works well on stairs where the stringer design already carries a fabricated character.
Top rail geometry: A floating stair usually pairs with a minimalist rail, round tube, flat bar, or a square profile. The connection between the top rail and the upper floor structure is often the trickiest detail, particularly when the upper floor is finished before the stair is installed.
Step 4: Structural engineering and permit drawings
Metro Vancouver requires engineer-stamped drawings for most residential stairs that change load paths, alter openings, or use non-standard structural systems. Cantilevered stair treads anchored into framing almost always need engineering. Mono stringer stairs on poured concrete slabs usually do.
Engineering is not just paperwork. It confirms:
- The anchor embedment depth and pull-out capacity for cantilevered treads
- The stringer sizing for the span and load (live load is 4.8 kPa on residential stairs per BC Building Code)
- Guard height compliance (at least 900mm from tread nosing, or 1070mm if the drop exceeds 1800mm)
- Handrail graspability, the code specifies diameter ranges (30–43mm round) and requires that handrails be continuous on at least one side
Permit applications go to the City of Vancouver (or the relevant municipality), and approval times vary from two weeks to two months. Submitting with a complete package, engineer’s schedule, architectural drawings, site plan, shortens the review cycle.
Step 5: Shop drawings and client sign-off
Once engineering is complete, the fabricator produces shop drawings. These are the fabricator’s working documents, not the architect’s design drawings. Shop drawings show actual weld details, material specs, connection hardware, tread bracket geometry, and finish callouts.
Client sign-off on shop drawings is essential before steel is cut. Changes after fabrication starts are expensive. Changes after steel is cut can require new material. Review the shop drawings for:
- Tread dimensions and cantilever distance
- Stringer depth and profile
- Railing post locations and base plate details
- Finish specification (powder coat colour, texture, primer system)
- Delivery and installation access assumptions
Step 6: Fabrication
Floating stairs are typically fabricated over three to six weeks depending on complexity and shop schedule. The stringer or structural frame is fabricated first, then tread brackets or anchor plates, then the railing system. Components that require sub-contractors, glass panels, wood treads, stone treads, are coordinated around the steel lead time.
Field measurements taken after rough framing is complete (and before finishes go on) produce the most accurate fabrication inputs. Some fabricators prefer to template the anchor locations on site before cutting steel. This adds a trip but eliminates fit-up problems at installation.
Step 7: Installation sequencing and site protection
A floating stair installation usually takes one to three days for residential work. The sequence matters:
- Install stringer or anchor hardware into structure
- Confirm level and plumb before any treads go on
- Set treads in sequence from bottom to top, or per the engineer’s sequence for cantilevered systems
- Install railing system after treads are secured
- Install glass panels or infill last, they are the most fragile and should not be on site during the heavy work
Finished floors, painted walls, and millwork around the stair opening need protection during installation. Steel grinds, weld splatter, and hardware drops are unavoidable. Cardboard and Masonite on the floors, plastic on walls, and masking on trim reduce touchup work significantly.
Step 8: Final inspection and deficiency review
Once the stair is in, a walkthrough with the client and contractor covers:
- Guard height at all points (measure from tread nosing to top of rail)
- Handrail continuity and graspability
- Any glass panel alignment or edge gaps
- Finish condition, scratches, dents, or damage from installation
- Tread surface, if wood or stone treads were installed by others, check the fit against the steel bracket or pan
Deficiencies caught at this stage are far cheaper to address than ones flagged six months later. A short punch list, signed off by all parties, closes the installation phase cleanly.
What makes a floating stair project go well
The projects that move smoothly share a few traits: the fabricator was involved before framing assumptions were locked, the structural engineer and the architect were aligned on the connection strategy, and the tread and railing decisions were made before shop drawings started. Late changes, a new railing style after shop drawings are approved, a revised tread material after brackets are fabricated, are the main source of project friction.
Floating stairs are worth the effort. Done well, they are among the most durable and satisfying elements in a renovation or new build. The process just requires treating the structure and the aesthetics as one conversation, not two.
Related reading: the floating stairs hub for support strategy comparisons, the floating stair structural prep checklist before fabrication starts, and the floating staircase cost guide for detailed budget ranges.
Related questions
When should a fabricator be involved in a floating stair?
Before the opening and support assumptions are finalized. Early input helps keep the stair buildable and prevents costly framing changes later.
Is every floating stair cantilevered?
No. Floating describes the visual effect. The support can be a mono stringer, side structure, wall anchoring, or another engineered approach. Each has different structural requirements.
How long does a floating stair project take from first call to install?
Most residential floating stair projects run eight to sixteen weeks from signed drawings to installation, depending on complexity, engineering review, and finish. Rush schedules are possible but usually cost more.
Do floating stairs need a building permit in Vancouver?
Replacement stairs in the same location with the same geometry are sometimes permit-exempt, but any structural change, new opening, relocated stair, different load path, typically requires a permit and engineer-stamped drawings in Metro Vancouver.