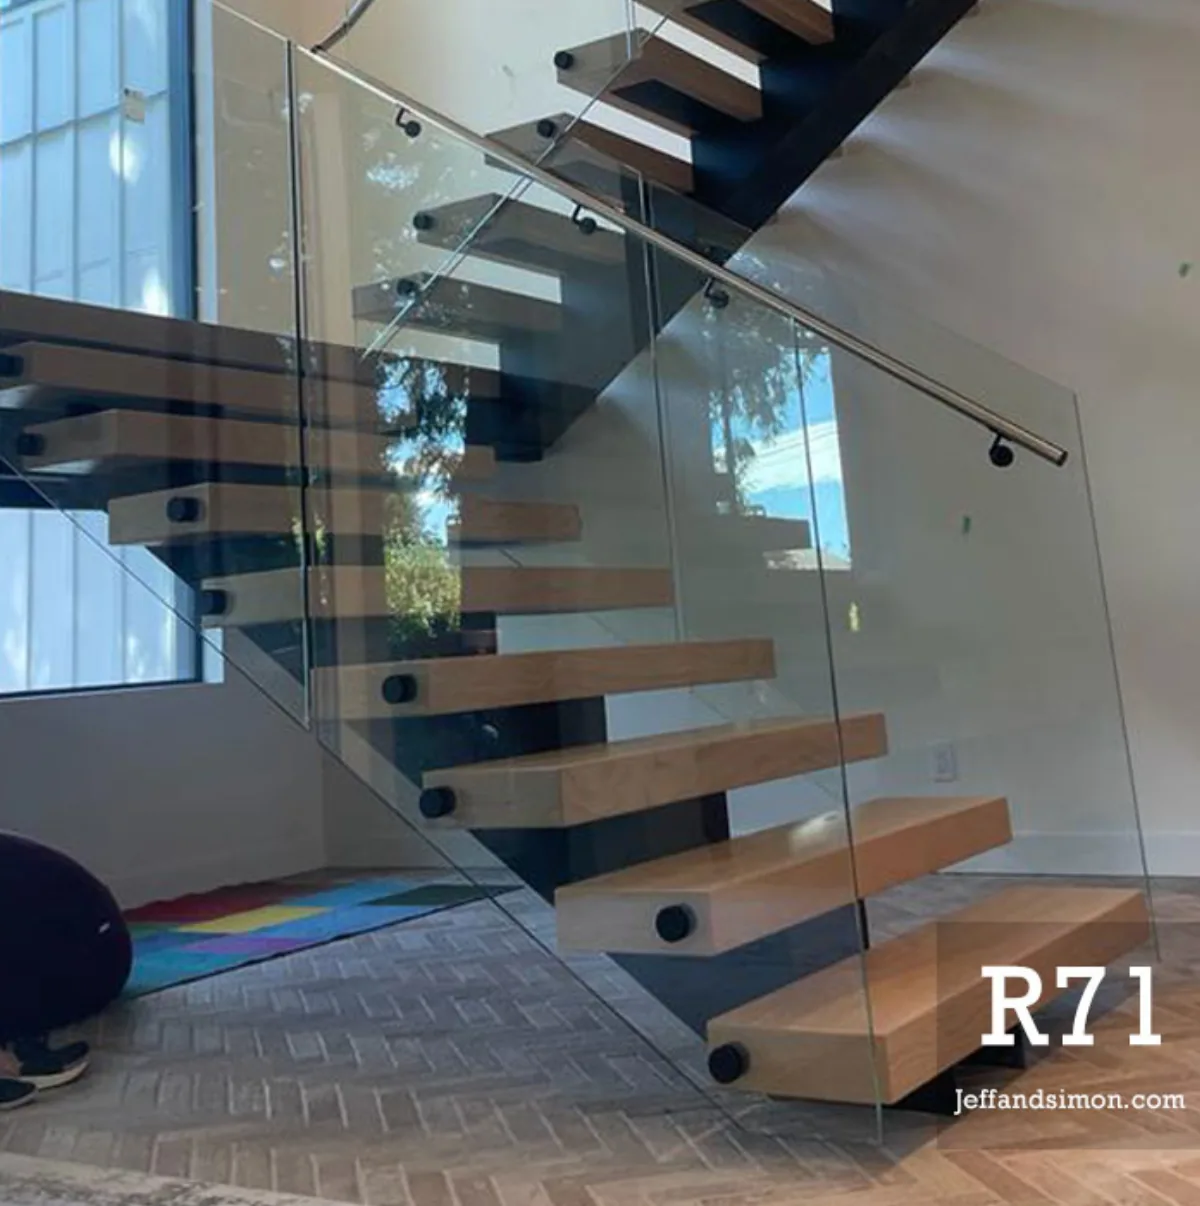
Installing a Mono Stringer Stair in Vancouver
How a mono stringer stair install actually goes in Vancouver: connection points, opening prep, engineering coordination, rigging, and trade sequence.
A mono stringer install is a structural-trade choreography. The decisions that make it go smoothly happen weeks before the steel arrives.
A mono stringer stair is fabricated in two or three large sections and delivered into a finished or near-finished house. The decisions that make the install go smoothly happen weeks before the steel arrives, at the connection points, the opening dimensions, the engineering review, and the trade sequence that follows.
Lock the structural connection points before steel is ordered
A mono stringer carries every tread through one central beam. That single beam transfers all stair loading into two locations, the top landing and the bottom floor or footing, so those connections deserve more attention than the visible beam itself. The top is usually a steel header, a doubled engineered joist, or a directly bolted plate into a structural wall. The bottom is a base plate anchored into a concrete slab, an engineered pad, or a thickened floor framing detail.
Vancouver renovations make this harder than new construction. Existing floor framing rarely lines up with where the stair wants to land. In our shop we resolve the floor connection before steel is ordered because moving a base plate by 100 mm after fabrication usually means re-cutting the stringer or shimming on site. Neither is a clean outcome.
For new builds, the GC and the structural engineer should agree on stair connection details at framing inspection. For renos, a site visit before fabrication is non-negotiable. Field measurement always wins over the drawing, and the cost of a wrong base-plate location after delivery is most of a day plus a return trip to the shop.
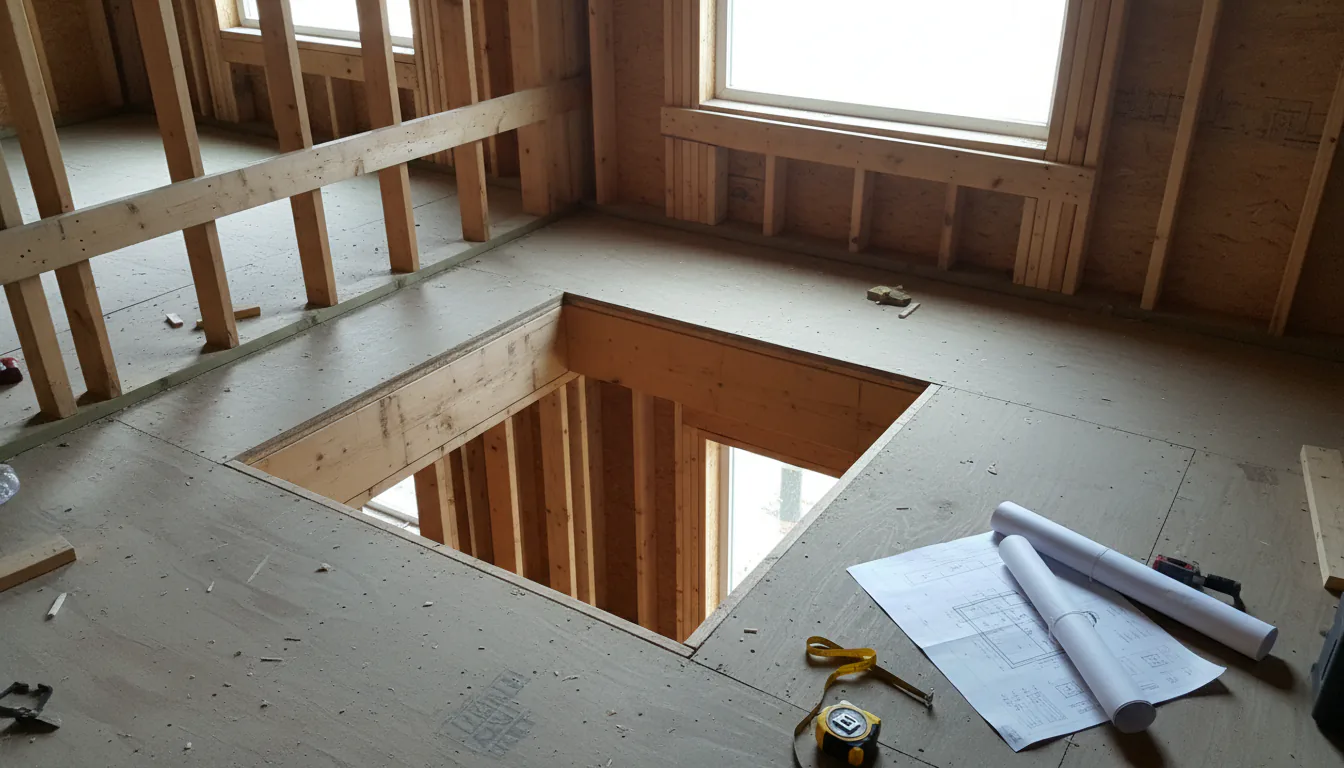
Confirm the stair opening, headroom, and finished-floor relationships
The stair opening size, finished-floor heights, and clear headroom decide whether the stair fits as drawn. In dwelling units, BC Building Code Section 9.8 sets minimum stair widths, minimum clear headroom, and the rise/run table the stair must satisfy across every step.
Two finished-floor numbers matter more than people expect. The top landing finish height (subfloor, underlayment, and flooring) sets the top tread-to-landing nosing relationship. The bottom landing finish height does the same at the slab. If either is wrong, the rise across the stair drifts out of code, since the BC Code allows rise variation no greater than 1 in 12 across a flight.
Headroom is the third measurement to lock. The code minimum clear headroom above stair treads sits in the 1950–2050 mm range depending on use, and a mono stringer with thick treads can lose 30–50 mm of available headroom that a thinner system would keep. Resolve this in drawings before steel is cut, not after the stair lands on site.
Align the install with BC Code Section 9.8
For dwelling units, the prescriptive numbers in Section 9.8 cover stair geometry, guard height, and handrail placement. Most residential mono stringer projects sit inside Part 9 (housing and small buildings) and follow the prescriptive route rather than alternative solutions.
Practical anchors most installs default to:
- Guards in a dwelling unit at minimum 900 mm above the walking surface, increasing where the walking surface is more than 1800 mm above adjacent grade (BC Code Section 9.8).
- Handrails mounted in the 865–965 mm range above the tread nosing line (Classic Railings BC summary of Section 9.8).
- Guard openings limited so a 100 mm sphere cannot pass. This drives picket spacing, glass panel layout, and cable infill spacing.
This article is not a substitute for code review by the authority having jurisdiction, an architect, or an engineer. Use the prescriptive numbers as the planning anchor, not the final ruling. AHJ interpretation varies between municipalities in Metro Vancouver, and the engineer of record retains the final call on connection capacity and load path.
Coordinate engineered drawings and Schedule B where required
Most feature mono stringer installs in Part 9 buildings can proceed on prescriptive drawings if the connection points sit cleanly inside conventional framing. Once the install asks the structure to do something the prescriptive code does not cover, like a long span, a cantilevered landing, or an opening cut into existing framing, engineered drawings become the path forward.
For Part 3 buildings (most multi-family and commercial work), Engineers and Geoscientists BC requires a Designated Structural Engineer to seal the structural drawings, and the project files Letters of Assurance — Schedules A, B, and C with the building permit application. Schedule B from the structural engineer commits to design review and field review of the structural work.
In our shop we coordinate the engineer’s drawings against the fabrication drawings before steel is ordered. The two drawing sets agree on connection types, fastener counts, and edge distances, or the install loses days at the field-review stage. Catching a missed bolt callout in shop drawings is a 10-minute fix. Catching it on site is half a day plus a re-inspection.
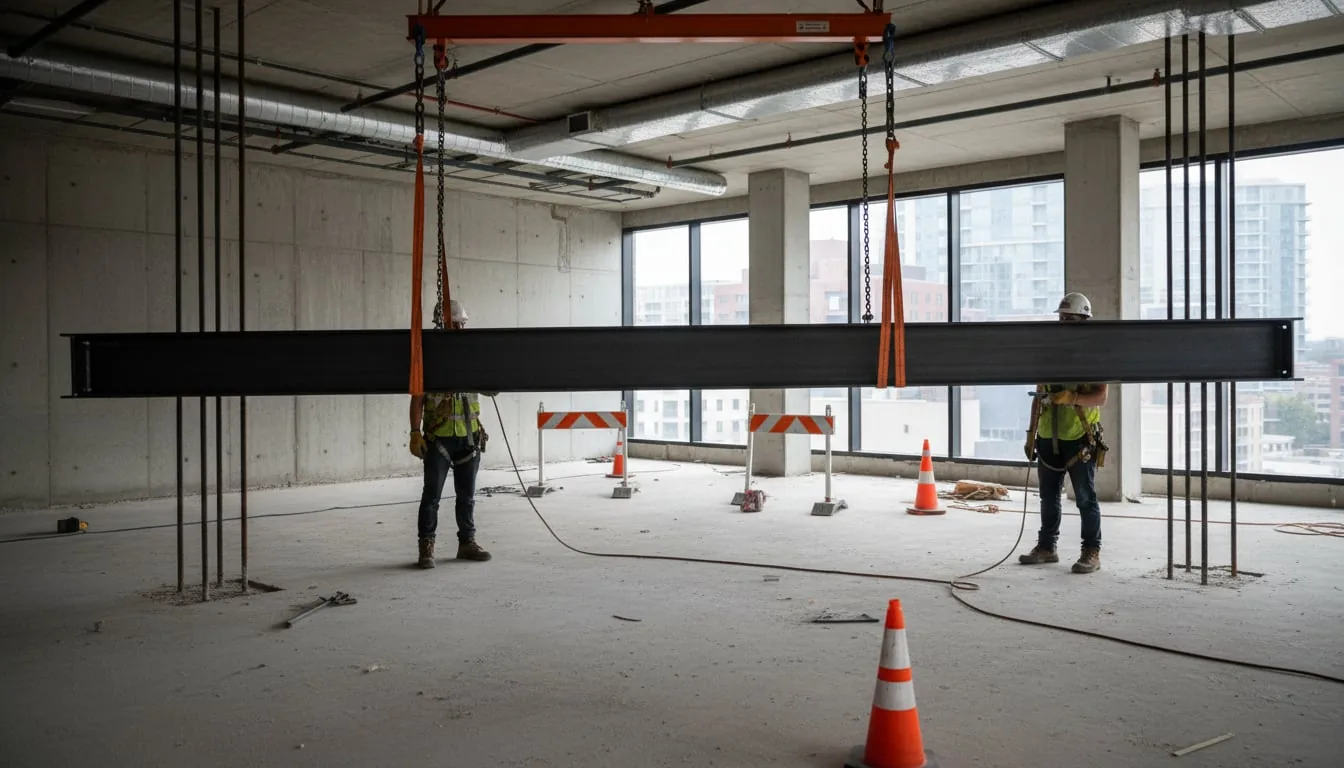
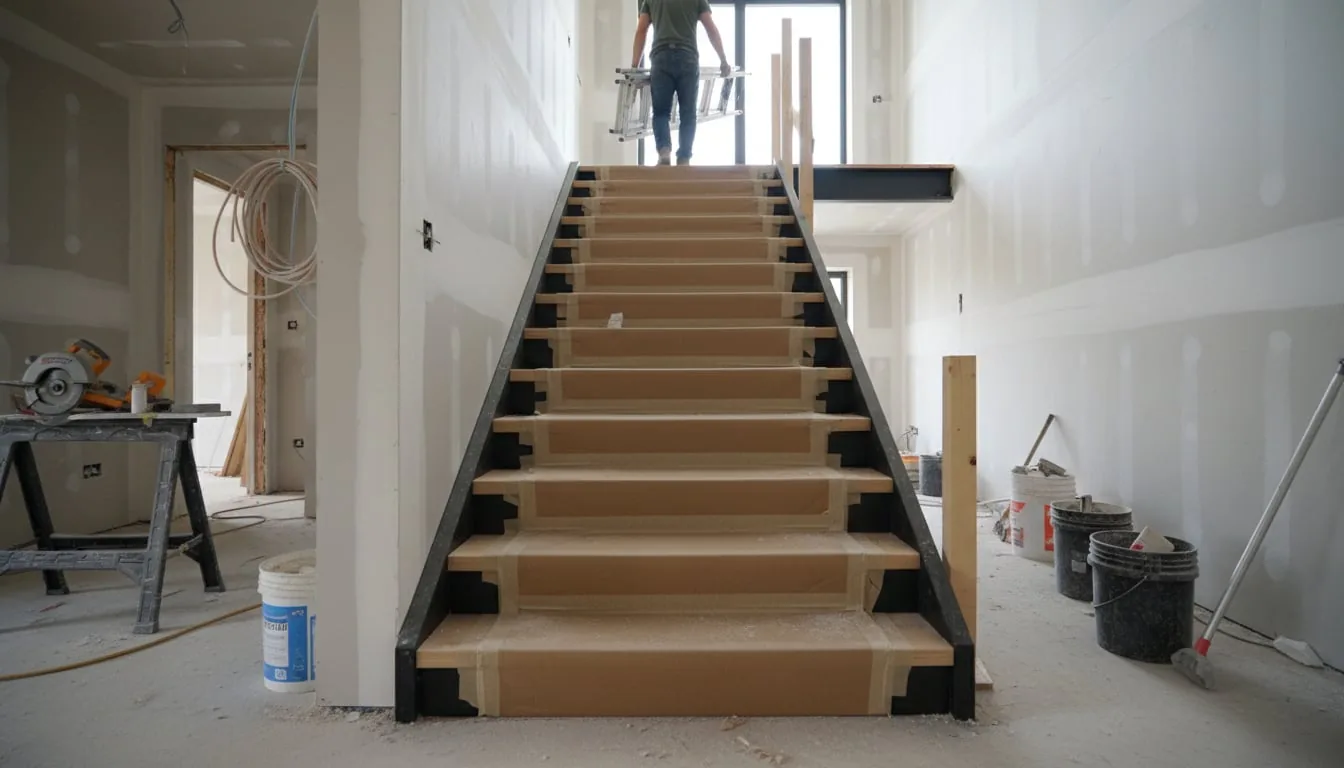
Prepare the site for delivery and rigging
A two-flight mono stringer can run 600–800 lbs per section. Even a single straight run is awkward to carry through finished hallways and around tight landings. The install plan needs to confirm three things before the truck leaves the shop.
First, the route from the curb to the install location. Door widths, hallway turns, ceiling heights, and floor protection along the route. If the route does not work, the stair gets craned in or rigged in pieces.
Second, the lift plan at the install location. Most residential mono stringers go in by hand with three to four installers using rigging straps and shoulder dollies. Larger or longer pieces use a portable gantry, an A-frame, or a spider crane on commercial projects. The sequence has to land the stringer in place without dragging it across finished floors or scraping the powder coat.
Third, the temporary support during the install. Until the top and bottom connections are bolted and the engineer-stamped drawings are satisfied, the stringer needs cribbing or temporary props. This is fabrication-side practice, and the shop sends sized cribbing with the delivery so the installers do not have to scavenge for it on site.
Sequence the install with the rest of the trades
Stair installs go cleanly when they are sequenced inside the broader trade plan, not bolted on at the end. In most projects we land the stringer after framing and rough-ins are complete but before drywall or finished flooring. That gives the installers full access to the connection points and lets the drywall trade close in around the steel cleanly.
If the schedule pushes the stair to after flooring, the protection plan has to be tighter and the rigging plan has to assume the floor cannot be dragged across. In Vancouver renovations this is often unavoidable, since the existing floor stays in place. New builds have more flexibility, and the stair install should land before flooring whenever the broader schedule allows.
Coordinating with the railing trade is the other sequence to lock. Glass and cable railing systems are usually installed after the stringer and treads are in place, but the attachment points (base shoe channel, standoff cores, mid-rail brackets) must be drilled or welded into the stringer at the fabrication stage. Once the stair is on site, those holes are difficult to add without re-finishing the steel.
Protect the finish through to handover
The hardest part of a Vancouver install is rarely the stair itself. It is keeping the finish intact while every other trade keeps working. Mono stringers usually arrive powder-coated in matte black, warm grey, or bronze-black. Powder coat is durable, but it is not invincible. A dropped tool, a swung level, or a tile saw moved past at speed will mark it.
Treads are the second protection challenge. Wood, stone, and steel treads are usually installed by Vancouver Stairs or by the trade that will sand and finish them after move-in. Either way they need wrapped or padded protection from the day they go in until the day before handover. We default to corrugated cardboard taped at every tread and a Coroplast cap on every nosing. Anything thinner usually fails by the second trade pass.
Exterior installs face a different challenge. Salt air and freeze-thaw on a North Shore or Coast Mountain site corrode unprotected steel quickly. For those projects we specify hot-dip galvanizing to ASTM A123 or CSA G164 before any topcoat is applied. The galvanic layer is the long-term protection. The topcoat is the appearance layer.
What makes Vancouver mono stringer installs go smoothly
The strongest projects in our shop share three habits. They lock connection points and finished-floor heights before steel is ordered. They bring the structural engineer in early enough that Schedule B coordination does not become a permit-stage emergency. And they treat the finish as a fabrication-grade material, with protection that lasts through every trade still working in the house.
Send photos of the existing or proposed stair opening, the floor-framing layout, the finished-floor heights, the site address, and the target installation date. Even a rough sketch of the rise total and the available run helps separate a straight install from a project that needs an engineered alternative before fabrication starts.
Sources
For a deep dive into how mono stringer stairs are designed and specified from first principles, see our mono stringer staircase design guide. For related guides on cost, code, and design decisions, see the Vancouver Stairs fabrication blog.
- BC Building Code — Section 9.8 Stairs, Ramps, Handrails and Guards (2018)
- BC Building Code Section 9.8 — guard and handrail summary, buildingcode.online
- Engineers and Geoscientists BC — Designated Structural Engineer
- Province of BC — 2018 Guide to Letters of Assurance (Schedules A, B, C)
- American Galvanizers Association — Differences between ASTM A123 and CSA G164
- City of Vancouver — Building permits overview
Related questions
Do I need a building permit to install a mono stringer stair in Vancouver?
Most installs require a permit because they alter or add structural framing. Replacing or relocating a stair that affects floor framing, opening size, or guard layout typically triggers a building permit through the City of Vancouver. Vancouver Stairs does not replace AHJ review.
When does a mono stringer install need a structural engineer's stamp?
Whenever the connection points or load path go beyond the prescriptive limits in BC Code Section 9.8, or for any Part 3 building. Engineers and Geoscientists BC requires a Designated Structural Engineer to seal the structural drawings and submit Schedule B for Part 3 work.
How long does a mono stringer install take on site?
In our shop a straight residential mono stringer usually installs in one to two days once the site is prepared and the connection points are signed off. A switchback with an intermediate landing or a long-span stair can stretch to three or four days.