Cantilevered Floating Stair Wall Framing in Vancouver
What the framer needs from the steel fabricator before drywall on a cantilevered floating stair — embed locations, back-plate strategy, and inspection windows.
A cantilevered floating stair has no visible support because the wall is doing all of the work. The trade-off is that the wall has to be planned with the engineer before drywall.
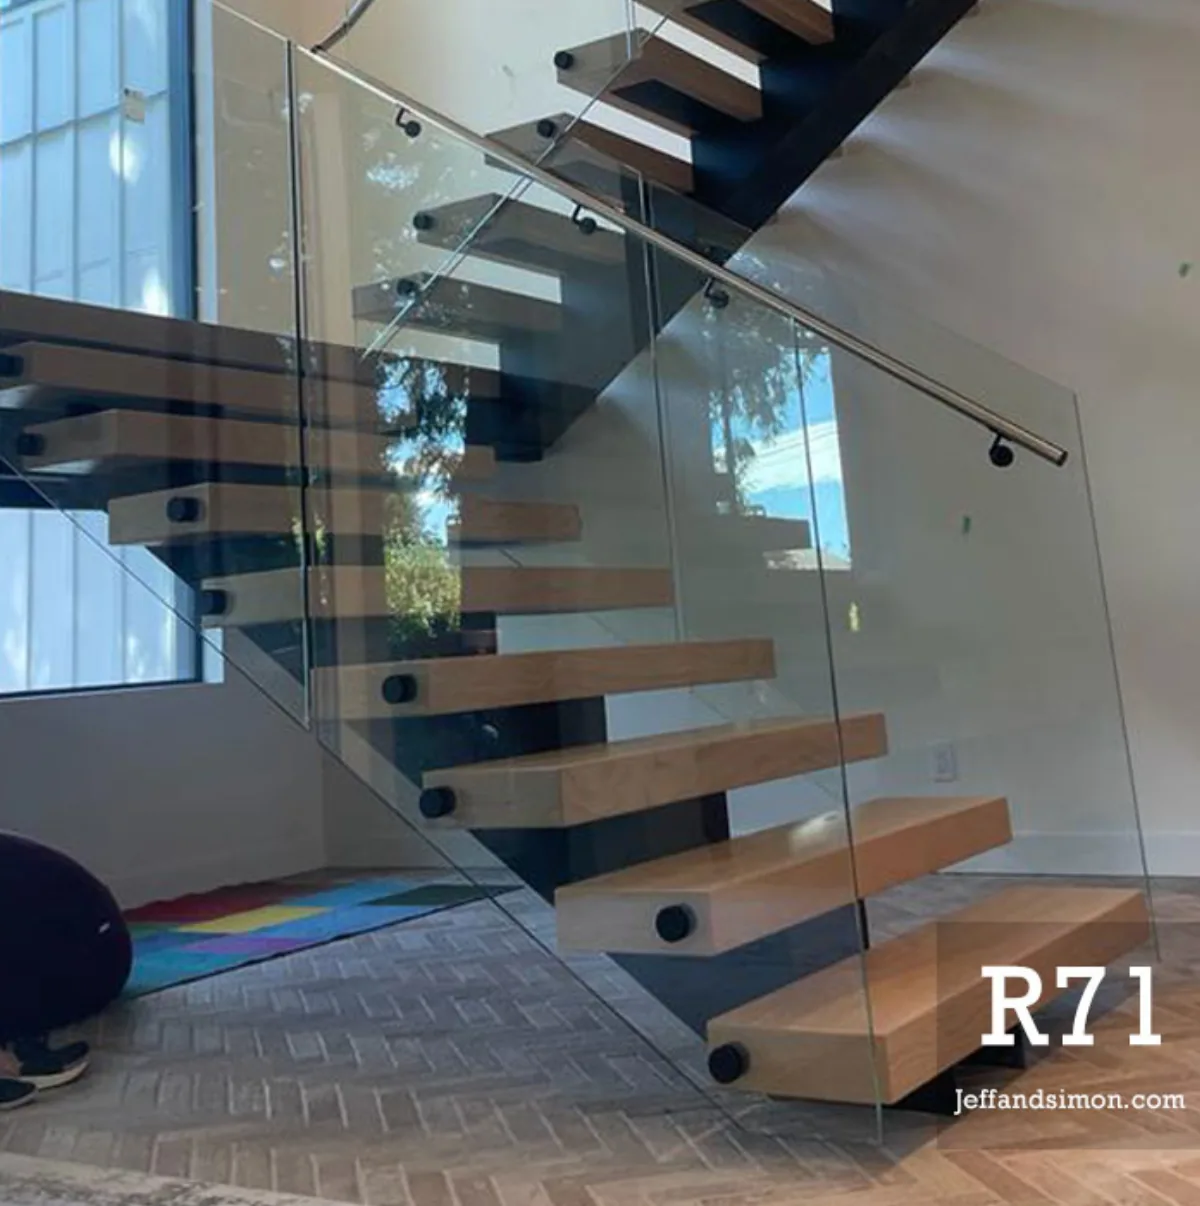
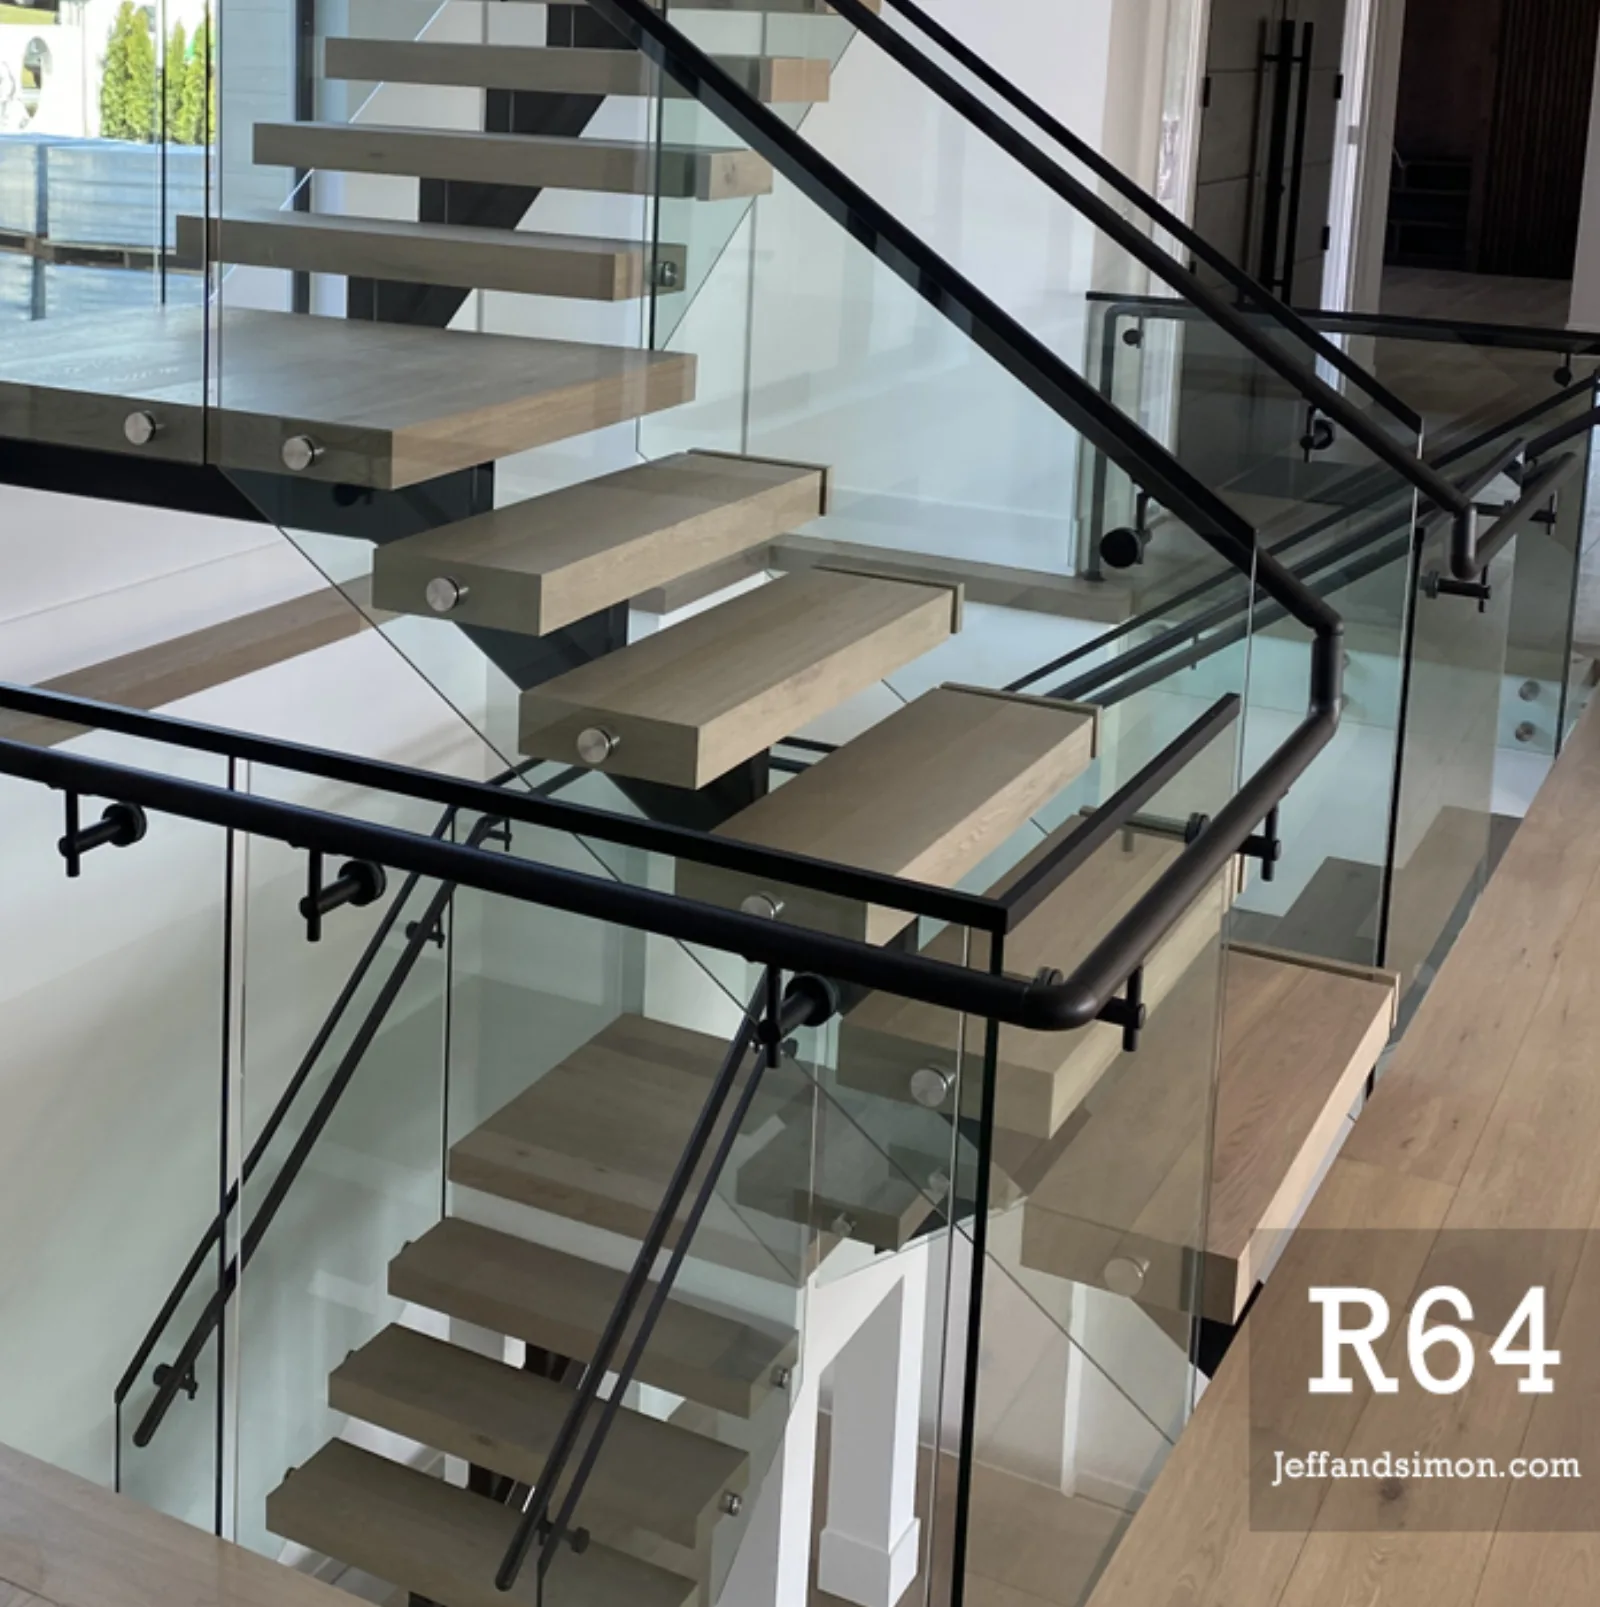
A cantilevered floating stair has no visible stringer. Each tread anchors into the wall behind it through a steel embed, and the wall carries the moment. The visual effect is that the stair vanishes — only the treads remain. The structural reality is that the wall behind the stair is now structural, and it has to be planned, framed, and inspected before drywall.
This is the most expensive thing to fix late. We have walked into projects where drywall went on before the embeds were checked, and the only path forward was to open the wall back up. The good version of this conversation happens before the framer leaves the area.
What the wall actually needs to do
On a cantilevered floating stair, every tread transfers a downward load and a moment back into the wall. The moment is the bigger problem. A 30-inch tread cantilevered off a hidden embed is trying to rotate the embed out of the wall every time someone steps on it. The wall has to resist that rotation through enough material — steel, structural lumber, or masonry — at the right depth.
In Metro Vancouver custom homes, the three common solutions are:
- A continuous steel back-plate (commonly 1/4-inch or 3/8-inch thick) running the full height of the stair, with each tread embed welded or bolted through the plate into stud-packs.
- LVL columns at each tread location, sized by the engineer, with the embeds bolted through the LVLs.
- A structural concrete or masonry wall, where the embeds are post-installed anchors specified by the engineer and tested per the manufacturer’s data.
Each option works. None of them is a finish detail.
Coordination order
The cleanest projects follow the same order:
- Architect locks the stair location, the support strategy (cantilevered, in this case), and the tread schedule.
- Structural engineer reviews the tread loads, sizes the back-plate or LVLs, and locates the embeds on the structural drawings.
- Steel fabricator (us) prepares shop drawings showing each embed at exact location with mounting details.
- Framer installs the back-plate or LVLs at the right time in the sequence — usually after the wall studs are up but before sheathing or drywall.
- Engineer or inspector verifies the embeds are installed at the right locations and elevations before drywall.
- Drywall closes the wall.
- Stair fabricator returns to install treads through the now-concealed embeds.
The order matters more than any individual step. Skip step five and the project is one inspection away from a problem.
What “embed location” really means
An embed has three coordinates: horizontal position along the wall, vertical elevation off the finished floor, and projection out from the finished wall surface. All three matter.
- Horizontal position is set by the tread schedule and the run of the stair.
- Vertical elevation is set by the riser height and the finished floor build-up. A 19 mm (3/4-inch) tile underlay can shift the elevation enough to throw off the upper landing.
- Projection out from the finished wall surface is set by the bracket geometry and the planned tread thickness. The embed has to land at the right depth so the tread sits where the drawings show it.
We confirm all three coordinates on the shop drawings before fabrication. The framer should be working from the same drawing set.
Inspection windows
Most Metro Vancouver municipalities require the cantilevered stair embeds to be inspected by the structural engineer of record or the AHJ before drywall conceals them. Some projects also need the welding to be visually inspected at that stage. The inspection window is short — usually a few days between framing completion and drywall start. Schedule it before the framer leaves the area, not after.
For projects in the City of Vancouver, refer to the Vancouver Building By-law and the project’s permit conditions for the specific inspection requirements. Outside Vancouver, refer to the BC Building Code and confirm specifics with your local AHJ.
When cantilevered is the wrong answer
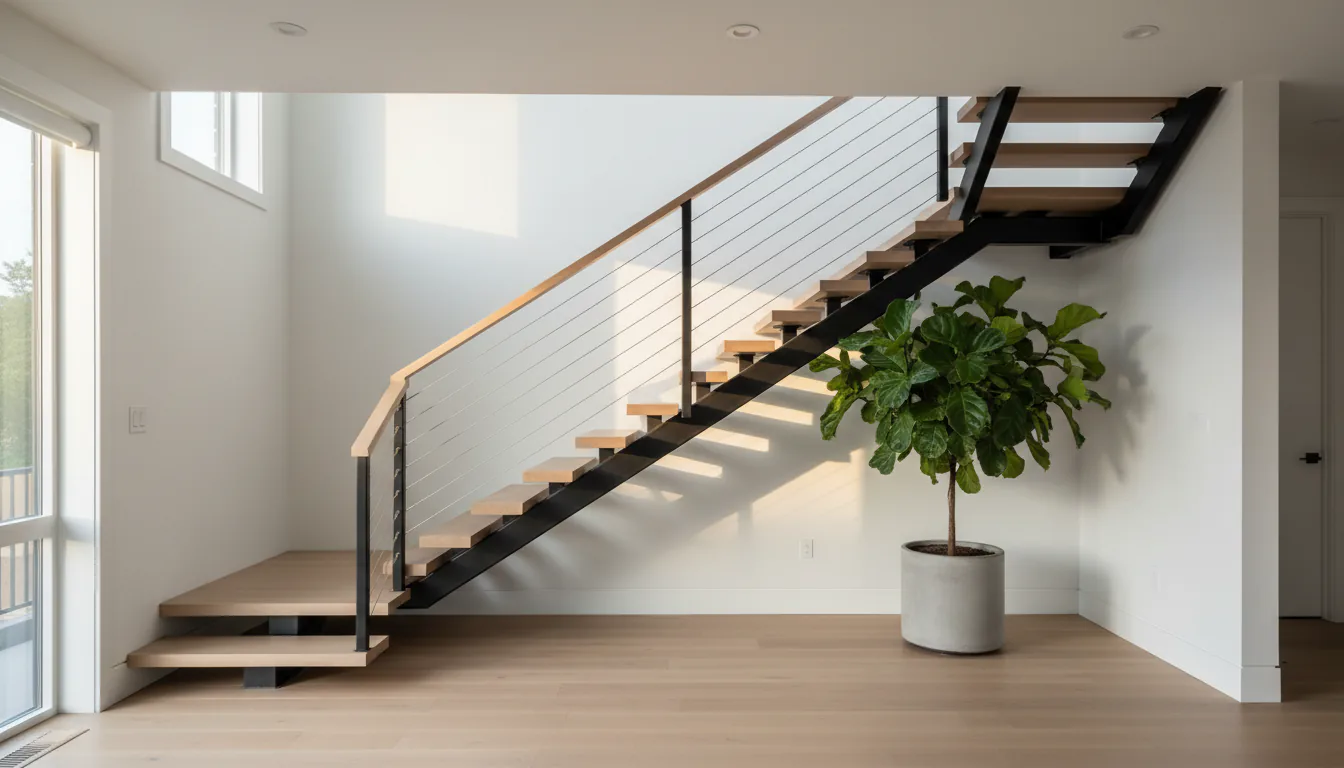
Sometimes the wall behind the stair cannot accept structural embeds — it is a glass partition, a fireplace surround, an existing wall in a renovation that cannot be opened up, or a wall on a property line with limited access. In those cases, switch to a mono stringer before the design is finalized. Mono stringer floating stairs do not depend on the wall and are usually less expensive to coordinate when the wall is not already structural.
Back-plate sizing: what the engineer specifies
The continuous steel back-plate is the most reliable embed platform for a cantilevered stair in a new wood-frame home. The plate runs the full vertical height of the stair opening, from the floor framing below the lowest tread to the underside of the upper landing. Each tread bracket is welded or bolted directly through the plate.
What the engineer will specify:
- Plate thickness: Commonly 1/4 inch (6 mm) to 3/8 inch (9.5 mm) for a residential flight of 8–14 treads. Heavier plates are sometimes used on very long cantilevers or when the tread schedule concentrates load.
- Stud-pack requirements: The plate transfers load into the stud wall behind it. The engineer will size the stud-packs — typically 3–5 doubled or tripled studs per tread location — to carry the moment load into the floor and ceiling plates.
- Connection to structure: The plate must be fastened to the stud-packs with through-bolts or structural screws that the engineer specifies. Nails are not adequate.
In a renovation, there is a practical problem: the wall may already be framed, sheathed, or drywalled. The most affordable time to install a back-plate is when the wall framing is exposed. Installing it retroactively means opening the wall, adding stud-packs, and patching. Budget the structural work upfront rather than discovering it after drywall.
Managing moisture at the embed
Exterior cantilevered stairs — deck-level stairs on Vancouver homes, or stairs opening to a private roof terrace — have an additional challenge. The tread embeds penetrate the building envelope. Each penetration is a potential water entry point.
The flashing strategy has to be part of the back-plate design:
- The plate or embed bracket typically penetrates the sheathing and weather-resistant barrier.
- A proper flashing boot or sleeve seals around the penetration before the stair is installed.
- Sealant at the tread-to-bracket joint keeps surface water from tracking inward.
- The cladding system (Hardi, stucco, rainscreen) cuts around the stair rather than being installed before the stair is placed.
Get the envelope consultant or the building envelope engineer’s input before finalizing the embed strategy on any exterior cantilevered stair. The cost of a water intrusion repair on a three-year-old installation is significantly higher than getting the flashing right the first time.
Checklist: Before framing the stair wall
Use this as a minimum pre-framing confirmation:
- Engineer has provided embed locations on the structural drawings
- Back-plate thickness and stud-pack sizing are specified
- Embed projection dimension is set based on tread thickness and bracket geometry
- Horizontal position of each embed is confirmed against the architectural drawings
- Vertical elevation of each embed accounts for finished floor build-up (tile, hardwood, concrete)
- For exterior applications: flashing strategy is confirmed with envelope consultant
- Shop drawings from the fabricator match the engineer’s embed schedule
- Inspection is scheduled before drywall
Sources
- BC Building Code 2018 Division B Section 9.8 — Stairs, Ramps, Landings, Handrails and Guards — the governing code for stair and guard requirements in residential and commercial buildings in BC
- Engineers and Geoscientists BC (EGBC) — the registering body for Professional Engineers in BC; provides the P.Eng stamp required on cantilevered and floating stair structural drawings
- Vancouver Building By-Law — City of Vancouver — local code adoption and inspection requirements for Vancouver projects
- BC Building Code — Province of BC — provincial reference for municipalities outside Vancouver
Continue planning
- Read the Floating Stair Support Strategies guide for the full comparison of all four methods.
- Review the Floating Stair Structural Prep Checklist for the full coordination list before fabrication starts.
- See the Cantilevered vs Mono Stringer comparison if you are still choosing between the two methods.
- Looking for product detail? Visit the floating stairs hub for examples and a request-a-quote path.
Related questions
Can a wood-framed wall carry a cantilevered floating stair?
Yes, but the wall has to be designed for it. The most common approach is a continuous steel back-plate or LVL behind multiple stud-packs, sized by the project engineer for the tread loads and the cantilever moment.
When does the engineer need to be involved?
Before framing for the stair area starts. The stair scope, the support strategy, and the embed locations should be part of the structural drawing set.
What happens if drywall closes in before the embeds are inspected?
Drywall has to come off again. Most municipalities require the embeds to be inspected before they are concealed. Schedule the inspection before the framer finishes the area.