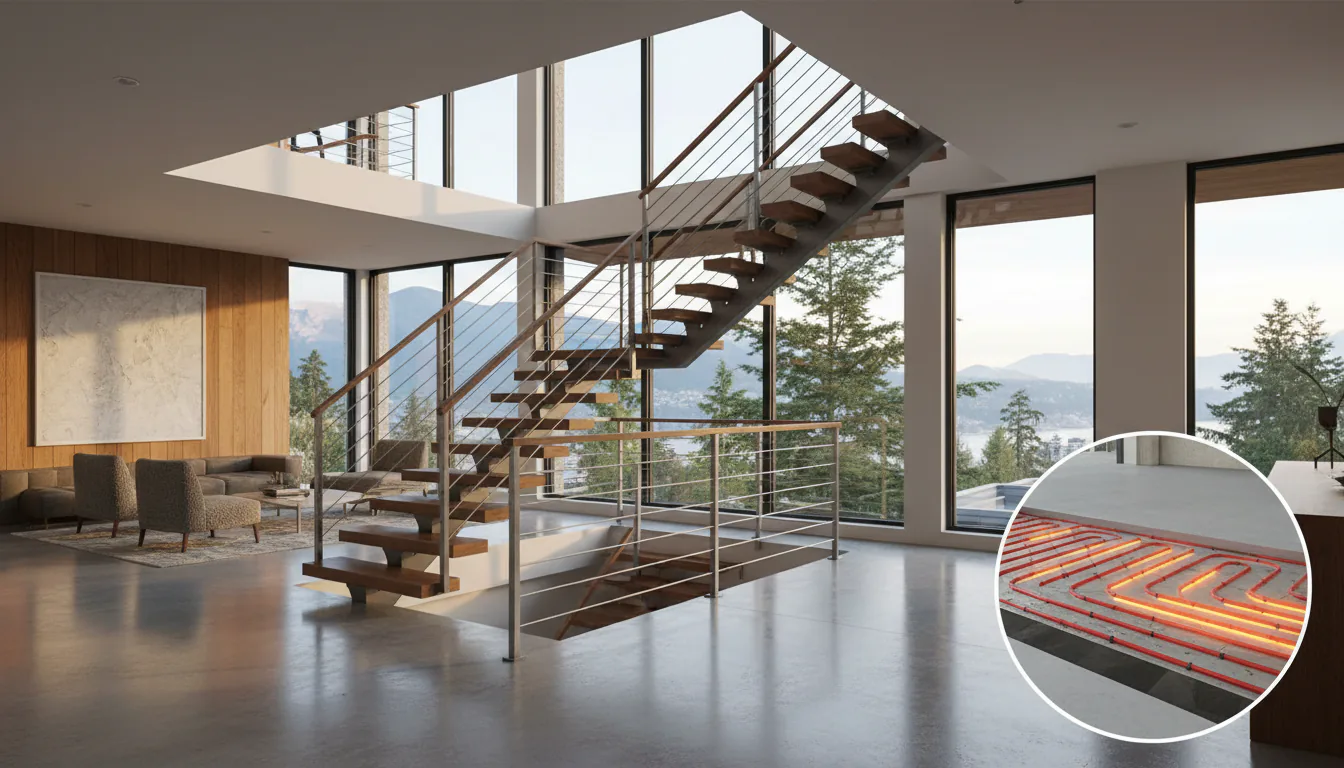
Steel Stairs Over Radiant Floor Heating in Vancouver: The Coordination Story
Steel stair coordination over radiant floor heating in Vancouver: penetration patterns, anchor depth, thermal expansion, and the key trade conversations.
A steel stair on a radiant floor has a single hard rule: do not penetrate the tubing. The rest is coordination.
Radiant floor heating has been standard on Vancouver custom residential projects for two decades, and the conversations between the stair fabricator, the radiant designer, and the GC are now a routine part of any project that combines the two. The conversations are usually short and the coordination is usually easy. The cases where the coordination fails are also usually easy to spot in advance, which is why we walk through it on every project.
This post is a working guide to the steel stair plus radiant floor heating coordination as it actually happens on Vancouver projects, the small details that recur, and where the failures cluster when the coordination does not happen.
The radiant floor itself
There are two main radiant floor families used in residential and commercial projects: hydronic and electric. Both share the same basic premise — a heating element distributed across the floor area that warms the floor surface from below.
A hydronic radiant system routes flexible PEX tubing through a sand bed or embedded in a concrete topping slab. Warm water (typically 35 to 45 degrees Celsius) circulates through the tubing under low pressure. The system is durable, efficient, and provides excellent comfort, particularly on stone and tile floors. The tubing layout is dense — typically 100 to 200 mm centre-to-centre — across the entire heated area.
An electric radiant system uses resistance heating cables in a similar layout, embedded in a thin mortar bed or attached to a mat. The system is faster to install than hydronic but more expensive to operate over time, so it is more common in smaller areas (bathrooms, mudrooms) than as a primary heating system.
In both systems, the heating element is below the visible floor finish, and the position of the element is set at the radiant designer’s layout drawing.
This article is not a substitute for code review by the authority having jurisdiction, an architect, or an engineer.
The hard rule — no penetration of the heating element
The single hard rule on a stair on a radiant floor is that no anchor, bolt, or screw can penetrate the heating element. A hydronic PEX leak in a slab is genuinely expensive to find and repair because the leak is hidden under the floor finish and the tubing has to be excavated to access. An electric cable break causes a localized cold spot or, in older systems, a circuit failure.
The fix is coordination. The radiant designer produces a tubing or cable layout for the project. The stair fabricator produces an anchor layout for the stair base plate. The two layouts are compared at the shop drawing stage, and any conflicts are resolved by moving either pattern.
In most cases, the conflict resolution is straightforward. The radiant designer can route the tubing around the stair anchor pattern (the anchor pattern is small relative to the total floor area), or the stair fabricator can move the anchors slightly to land between tubing runs. The coordination is easier when the stair location is known early in the project.
We share the stair base plate layout with the mechanical contractor at shop drawings explicitly so the radiant designer can review against the tubing layout.
When the conflict cannot be resolved by moving the pattern
Sometimes the stair anchor pattern is structurally dictated and cannot move, and the radiant tubing layout is similarly dictated by the heating design. The conflict has to be resolved by structural bridging — the stair is set on a structural element that spans over the radiant zone without anchoring into it.
The common bridging strategies:
- Concrete pedestal. The stair base plate sits on a small concrete pedestal that bears on the structural slab below the radiant topping. The pedestal is poured or precast and set before the radiant tubing is installed.
- Steel curb. A steel curb (a small steel beam or angle) spans across the radiant zone and supports the stair base plate. The curb bears on points outside the radiant zone or on structural members below.
- Sleeper system. A pattern of steel or wood sleepers under the stair base plate distributes the load across the radiant zone without point penetration.
Each of these has a structural review by the project engineer because the load path is no longer directly into the slab but through the bridging element. The detail is documented in the structural drawings and the stair shop drawings.
Thermal expansion at the connection
A heated slab expands and contracts with the heating cycle. The amount of expansion is small but real — over a long slab heated through a range of temperatures, the dimensional change can be a few millimetres per metre.
A stair anchored rigidly to the slab edge transmits this expansion load into the stair connection. Over time, the cyclical loading can loosen the connection or create stress concentrations at the anchor points.
The fix is a small expansion joint or flexible interface at the stair anchor. We typically use a slotted hole at one or more anchor locations, or a flexible isolation pad between the stair base plate and the slab, depending on the structural detail. The detail allows the slab to expand without transmitting the load into the stair.
The thermal expansion question is largest on long slabs with high temperature swings (such as exterior heated walkways or large interior spaces with continuous radiant heating) and small on short slabs with moderate temperature swings. For most interior residential projects, the expansion is small enough that a simple slotted hole detail is sufficient.
The trade sequence — when each trade is on site
The right trade sequence on a project with stairs and radiant floor heating goes:
- Structural design — building structure is complete, including any structural support for the stair (backup walls, beam pockets, etc.).
- Mechanical and radiant design — radiant tubing or cable layout drawings are complete, including any modifications for stair coordination.
- Stair shop drawings — stair fabrication drawings show anchor pattern, coordinated with the radiant layout.
- Slab preparation — gravel, vapour barrier, insulation, and tubing are installed at the slab elevation per the radiant design.
- Slab pour — the radiant topping is poured with the tubing in place. Stair anchor locations are marked.
- Stair install — the stair arrives after the slab has cured. Anchors land at the marked locations.
When this sequence is followed, the install is straightforward. When the sequence breaks — for example, when the stair design is finalized after the radiant tubing is in the slab — the coordination becomes a structural bridging problem rather than a layout coordination problem.
We work with the GC to confirm the sequence at the project kickoff and to flag any deviations early.
For broader context on the install day process that follows from this coordination, see our piece on the metal stair installation day Vancouver piece.
Polished concrete finishes — a related coordination
Many Vancouver custom homes that have radiant heating also have polished concrete floors as the finish. The polished concrete is the structural slab itself, finished to a polish rather than covered with a separate floor finish.
A stair landing on a polished concrete floor adjacent to a heated slab needs to coordinate the polish finish with the stair anchor. The polish is typically completed before the stair is installed, which means the stair anchors are set into the finished polish. The anchor holes have to be cleanly drilled (using a dust-collecting drill) so the polish around the hole is not damaged.
The visible reading of the finished assembly is the polished slab with the stair base plate sitting on it. The anchor heads can be either visible (countersunk or flush) or hidden (under the base plate cover). The visible/hidden decision is made at the design stage.
When the heating fails
A radiant heating failure that is suspected to be at a stair anchor location is treated as a serious project issue. The cost of locating the failure, excavating the slab, repairing the tubing, and re-pouring the affected area is large.
The fix is a thermal imaging scan of the heated slab to locate the failure. If the failure is at a stair anchor, the affected anchor is removed, the tubing is repaired, the slab is patched, and the anchor is relocated. The total cost of this remedial work is well in excess of the original coordination time.
The prevention is the up-front coordination. We have not had a stair anchor cause a radiant failure on a project we have worked on, because the coordination happens before the slab is poured. The cases we know about from other projects all trace back to the coordination not happening.
Sources
- Radiant Panel Association — Radiant heating system reference
- BC Building Code Part 9 — Housing and Small Buildings
Related reading: the metal stair installation day Vancouver piece, the steel stair shop drawings Vancouver piece, and the floating stair process piece.
Related questions
Can a steel stair anchor through a radiant floor slab?
Only if the anchor pattern is coordinated with the radiant tubing layout so the anchors land between the tubing runs. Anchors that penetrate hydronic tubing cause leaks that are expensive to locate and repair. Anchors that penetrate electric radiant cables cause system failures. The coordination has to happen before either trade installs.
Does radiant floor heating affect the stair structurally?
The thermal expansion of a heated slab can affect rigid stair-to-slab connections. We typically add a small expansion joint or flexible interface at the stair anchor on radiant projects to accommodate the slab movement without transmitting load into the stair connection. The stair structure itself is not significantly affected by the heating.
What's the right sequence when both stairs and radiant heating are part of the project?
Radiant designer produces tubing layout. Stair fabricator produces anchor layout. The two layouts are compared and conflicts resolved before either trade installs. If conflicts cannot be resolved by moving either pattern, the stair is set on a structural bridge (concrete pedestal, steel curb) that spans the radiant zone.