Reading Steel Stair Shop Drawings: A Working Guide for Vancouver Architects and GCs
Steel stair shop drawings in Vancouver: geometry sheet, structural connections, finish schedule, and coordination notes that prevent costly field changes.
A shop drawing is the contract between the architect's intent and the fabricator's build. The review is where the project becomes deliverable.
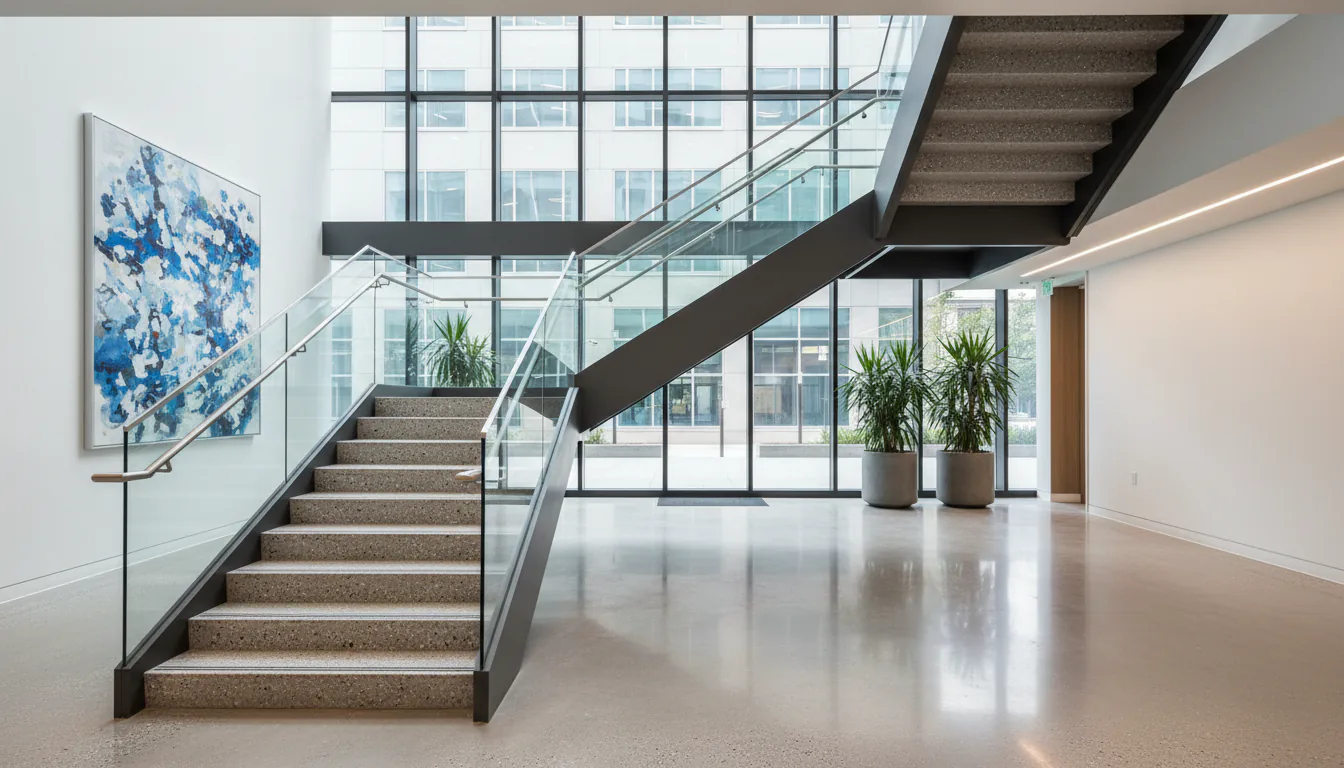
A custom steel stair on a Vancouver project lives in two sets of drawings. The architectural drawings show what the stair should look like, where it should land in the floor plan, and how it should relate to the surrounding architecture. The shop drawings translate that intent into the dimensions, members, connections, and finishes that the fabrication shop actually builds. The shop drawing review is where the project becomes deliverable, and where the cost of changes goes from cheap to expensive.
This post walks through how a typical Vancouver Stairs shop drawing package is organized, what the architect and GC should be looking for during review, and where the most common coordination issues are caught.
What a shop drawing package contains
A complete shop drawing package on a typical custom residential stair contains the following sheets:
- Cover sheet with the project identification, the revision history, the index of sheets, and the relevant code and engineering references.
- Geometry sheets showing plan, elevation, and section views of the complete stair with overall dimensions, tread rise and run, headroom, stair width, and clear floor area at top and bottom.
- Structural detail sheets showing the stringer member sizes, the connection details at every joint, the bolt and weld specifications, and the engineer’s stamp where required.
- Tread and riser detail sheets showing the tread material, the bracket detail, the riser specification, and any special detail (anti-slip insert, drainage, isolation pad).
- Railing detail sheets showing the post spacing, the top rail profile, the infill (picket, cable, glass, panel), the handrail bracket detail, and the returns.
- Finish schedule showing the finish system on every visible surface, the colour selections, and any specific finish coordination notes.
- Coordination notes for the GC, the framer, the electrical (if any lighting is integrated), and the door supplier (if the stair lands adjacent to a door).
For commercial projects, additional sheets include the rated assembly references, the egress dimension verifications, and the load path documentation.
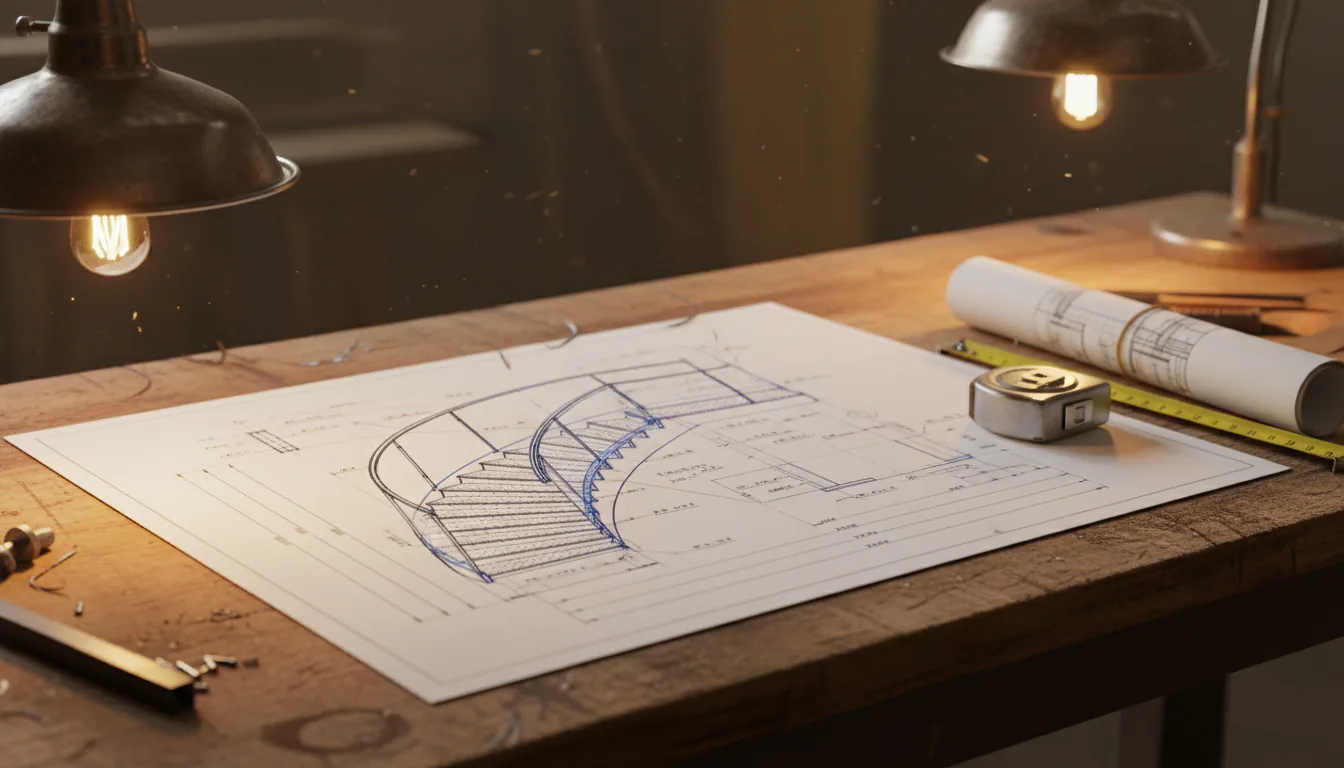
The geometry sheet — the first review
The geometry sheet is what the architect reviews first. The questions to ask:
- Does the overall stair fit the architectural opening dimension?
- Is the tread rise and run consistent with the architect’s design intent?
- Does the headroom meet code at every point in the stair, including the head clearance under the upper floor framing?
- Is the stair width consistent with the architect’s specification?
- Is the clear floor area at top and bottom adequate for the door swing and the user circulation?
A drawing that gets the geometry wrong has cascading effects on every other drawing in the package. The fabricator does not start the structural details until the geometry is confirmed.
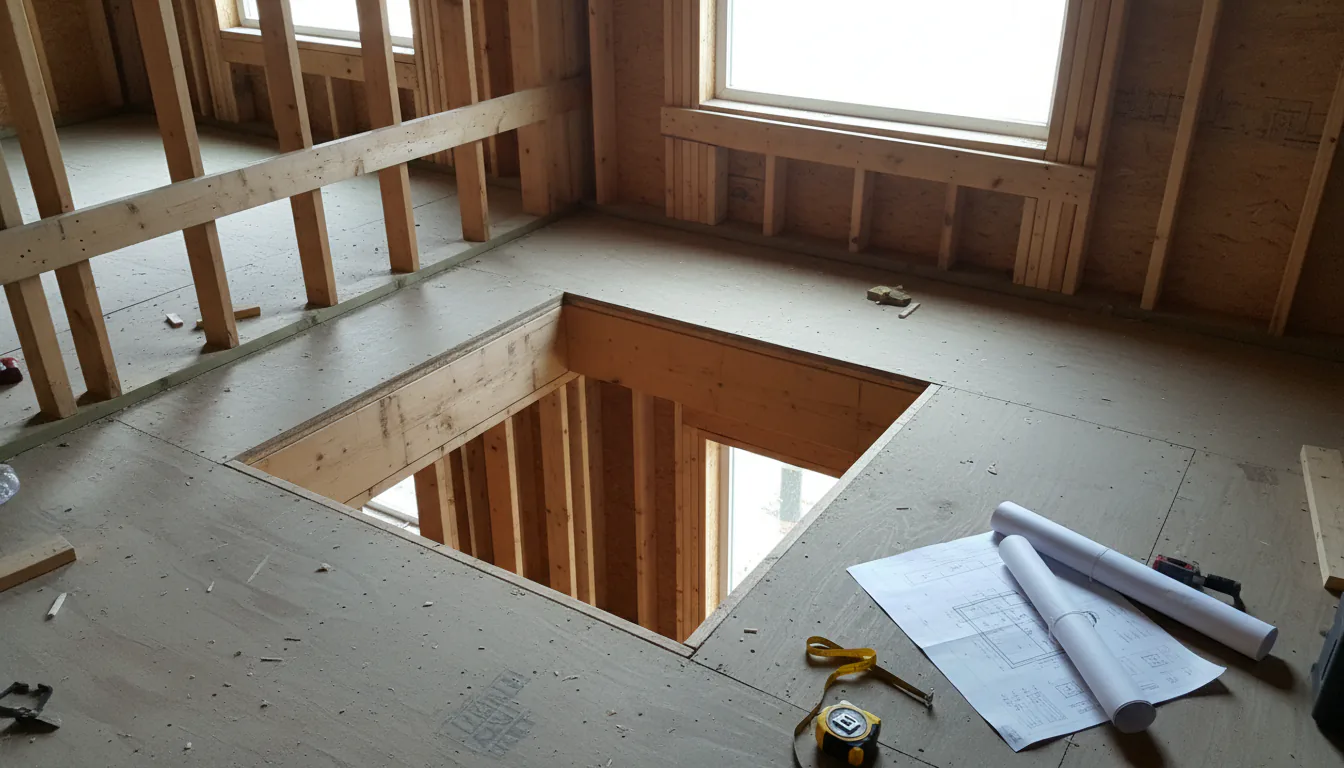
The most common geometry issues we catch in our own drawings before sending out: a stair opening that is slightly different from the architect’s dimensioned drawing because of a framing change, a head clearance issue at the second-floor joist that requires either a furred ceiling or a deeper stair landing, or a clear floor area at the top of the stair that conflicts with a door swing.
The structural details — the engineer’s review
On any stair with engineered structural drawings (most commercial stairs, most multi-story residential feature stairs, most stairs with cantilevered or floating elements), the structural details receive a separate review by the project structural engineer. The engineer is checking:
- Are the member sizes adequate for the design load?
- Are the connection details properly engineered and detailed?
- Are the weld and bolt specifications consistent with the engineer’s calculations?
- Are the load paths into the surrounding structure consistent with the structural drawings?
The engineer’s review and stamp on the shop drawings is what authorizes fabrication of the structural elements. We do not start cutting steel on an engineered stair until the engineer has reviewed and stamped the structural detail sheets.
For broader context on the structural detail decisions that go into a custom stair, see our pieces on the steel stair connection details and the welded vs bolted stair stringer connections.
The finish schedule — the most overlooked sheet
The finish schedule is the sheet that the architect’s interior designer or finish team should review, and it is the sheet that gets the least attention on most projects. The result is a stair that is structurally correct but finished in a way that does not match the architect’s intent.
The finish schedule shows:
- The substrate of every visible surface (carbon steel, stainless 304, stainless 316, aluminum, wood)
- The finish system applied to that substrate (powder coat, wet paint, hot-dip galvanizing, mill finish, brushed, polished, oiled)
- The colour or finish selection (specific powder coat colour, specific paint colour, specific wood finish)
- Any sample requirement or approval condition
A common failure: the architect specifies “matte black” without a specific powder coat colour. The fabricator picks a black from the powder coat supplier’s stock library. The installed stair reads slightly different from the architect’s other matte black elements in the home because the colour was not matched. The fix is repowdering, which means disassembly, surface prep, and re-assembly.
We pull powder coat samples from the supplier’s stock and confirm the architect’s selection against actual physical samples before fabrication. Sample approval is a small step that prevents a large rework.
Coordination notes — the prevention layer
The coordination notes section of the shop drawings is where we flag the items that touch other trades. Examples:
- “Framer to provide backup wall at upper landing per structural drawings — see detail X”
- “Drywaller to coordinate with stair install — no drywall to be installed in shaded area until stair is in place”
- “Electrical to provide rough-in for under-tread lighting at locations shown on detail Y”
- “Door supplier to confirm threshold elevation at upper landing — see detail Z”
These notes are what prevent the field surprises. A drywaller who installs drywall in the area where the stair landing has to slide in creates a multi-day delay; the coordination note prevents the situation.
We share the shop drawings with the GC and the affected trades, not just with the architect, so the coordination notes reach the people who have to act on them.
The review cycle — what to expect
A typical shop drawing review cycle runs three iterations:
- First submission — the fabricator’s initial drawings based on the architectural drawings. Comments from the architect and engineer.
- Revision 1 — the fabricator addresses the comments. A second submission. Comments are usually small at this point.
- Approved for fabrication — the architect and engineer stamp the drawings. Fabrication begins.
Each iteration takes about a week on a residential project, longer on a commercial project with multiple stakeholders. The total review cycle is two to three weeks on a residential stair, four to six weeks on a commercial stair.
Drawings that go to fabrication without a complete review cycle are the drawings that produce field changes. We do not start cutting steel without an approval signature on the drawings.
The shop drawing as a deliverable
Once fabrication starts, the approved shop drawings become the as-built reference for the project. The drawings travel with the stair to the site, become part of the install documentation, and are referenced at inspection.
The drawings should be kept by the owner as part of the building documentation. If a future renovation touches the stair, the shop drawings are the starting point for the new design. If a maintenance question arises (a railing replacement, a finish refresh), the drawings are the reference for what was specified.
We deliver shop drawings as PDFs at handover and keep them in the project file indefinitely. Owners who lose their drawings ten years into ownership can request a copy from our archive.
Sources
- CSA W47.1 — Certification of companies for fusion welding of steel
- Engineers and Geoscientists BC — practice resources
Related reading: the steel stair connection details piece, the welded vs bolted stair stringer connections piece, and the custom staircase timeline Vancouver piece.
Related questions
Who produces the steel stair shop drawings — the fabricator or the architect?
The fabricator produces the shop drawings based on the architect's design intent drawings. The architect's drawings show what the stair should look like and where it should land. The shop drawings show how the stair will be made — every member size, every connection detail, every finish spec. The architect reviews and stamps approval before fabrication begins.
How long does shop drawing review usually take?
On a typical custom residential stair, two to three weeks from delivery to architect approval, including one or two revision cycles. On a commercial project with engineered structural review, four to six weeks is more typical because the engineer is also reviewing. Faster turns are possible on simpler designs; slower turns are common when the design is still being refined.
What's the most expensive thing the shop drawing review catches?
Connection details that conflict with the surrounding structure. A stair that needs a backup wall the architect did not specify, a landing that overlaps a mechanical chase, a stringer that runs through a beam the structural engineer drew differently. Catching these at shop drawings is a comment; catching them on install day is a return trip and a remediation cost.